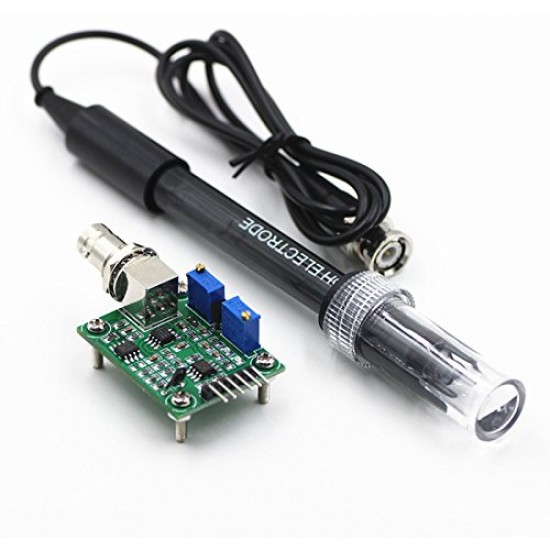
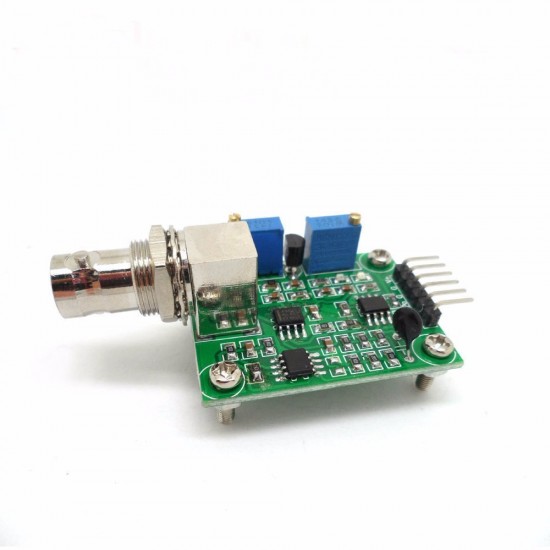
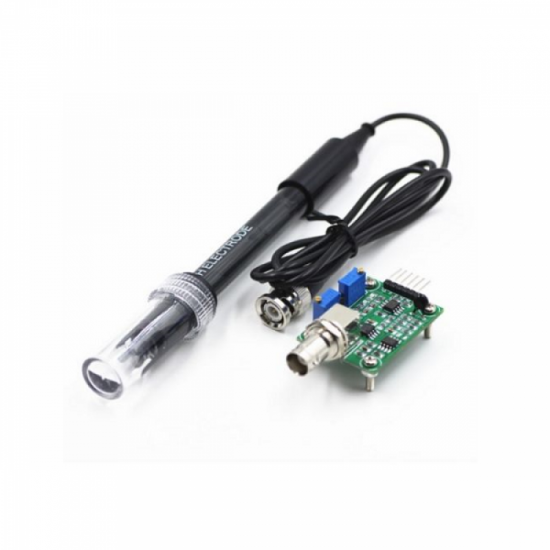
This pH sensor is commonly used to test the pH of a liquid as it measures the hydrogen-ion activity in water-based solutions. Wherever acidity and alkalinity testing is required, it is frequently employed in the chemical businesses, pharmaceutical industry, dye industry, and scientific research. This kit’s drive board works with both 9V systems. It’s also very easy to work with Arduino and Raspberry Pi thanks to the standard BNC probe interface and Grove connection. A Power Indicator LED, a BNC connector, and a PH2.0 sensor interface is all included.
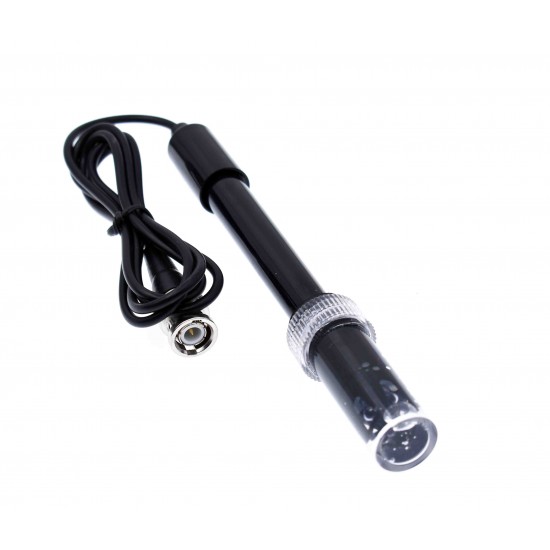
To use it, simply connect the pH sensor to the BND connection and plug the PH2.0 interface into any Arduino controller’s analog input port. If pre-programmed, you will get the pH value easily. Comes in a compact plastic box with foams for better mobile storage. The pH stands for the power of hydrogen, which is a measurement of the hydrogen ion concentration in the body. The PH electrode has a single cylinder that allows direct connection to the input terminal of a pH meter, controller, or any pH device which has a BNC input terminal. The pH electrode probe is accurate and reliable that can give almost instantaneous readings.
Cautions:
- Before being measured, the electrode must be calibrated with a standard buffer solution of known PH value. In order to obtain more accurate results, the known PH value should be reliable, and closer to the measured one.
- When the measurement is completed, the electrode protective sleeve should be put on. A small amount of 3.3mol / L potassium chloride solution should be placed in the protective sleeve to keep the electrode bulb wet.
- The leading end of the electrode must be kept clean and dry to absolutely prevent short circuits at both ends of the output, otherwise, it will lead to inaccurate or invalid measurement results.
- After long-term use of the electrode, if you find that the gradient is slightly inaccurate, you can soak the lower end of the electrode in 4% HF (hydrofluoric acid) for 3-5 seconds, wash it with distilled water, and then soak in potassium chloride solution to make it new.
Activation:
pH/REF: Soak the glass bulb and ceramic junction in 0.1M Hydrochloric Acid for 2 hours and then rinse thoroughly with distilled water.
ORP: Electrodes may need additional cleaning occasionally with polishing paper.
Conductivity cell: Re-plating is required if the mentioned cell constants are not obtained.
FEATURES:
- Widely used in the chemical industry, pharmaceutical industry, dye industry, and scientific research
- Support with both Arduino and Raspberry Pi
- Compact size for easy deployment and cost-effective
- Resolution: at most ±0.15PH (STP)
- Probe replaceable







There are no reviews yet.